File upload
Article views: 1840
This section covers uploading via FTP and file manager. You may upload using one or several of these methods.
#Directory Structure
At the root of your account exists these directories:
- /backups
- /domains
- /imap
- /Maildir
- /public_html
#/backups
The /backups directory contains all the backups created through the control panel. You will not have a /backups directory until you create a backup in the control panel.
#/domains
The /domains directory contains the files relating to your hosting account(s). Each domain hosted on your account has its own directory (/domains/yourdomain.com). Within this directory is:
/logs
/private_html
/public_html
/public_ftp
/stats
(monthly logs are stored here -- the directory is created one month after your account is created)
(files for your general encrypted website)
(files for your general website)
(files for your FTP site)
(files created by Webalizer for the purpose of statistics -- do not alter/delete this directory)
#/imap
Every IMAP folder (at least for incoming messages) has sub-folders new and cur. The new sub-folder contains all newly arrived messages which have not been yet viewed by any e-mail client (does not matter: offline or online). Of course you should read them via mail client( POP3 or IMAP), otherwise if you read them in SSH or FTP/FileManager they would not be marked as read.
#/Maildir
/Maildir is the system email box storage. It has nothing to do with virtual email boxes. In most cases the box contain errors and notifications from system.
#/public_html
The /public_html directory at the root of your account is actually a link to /domains/yourdomain.com/public_html. If you have more than one domain hosted on your account, this link will forward you to the public_html directory of the last domain created on your account.
#Home (index.html) File
The default file for any web directory is index.html. That means when visitors access http://www.yourdomain.com, the server really sends them to http://www.yourdomain.com/index.html. This works for any publicly accessible directory on your system, including subdomains.
When uploading a main web site for each directory remember to name it index.html. Advanced users may utilize PHP files, shtml files, etc. If your web site is not based in html, then make sure your main files are renamed index.extension (index.html, index.shtml, for example).
#Uploading With FTP
Step 1: Obtain FTP client software.
Uploading to the server through FTP requires special software. Most computer systems do not come with FTP clients, so you will have to download one from the Internet.
Step 2: Connect to the server.
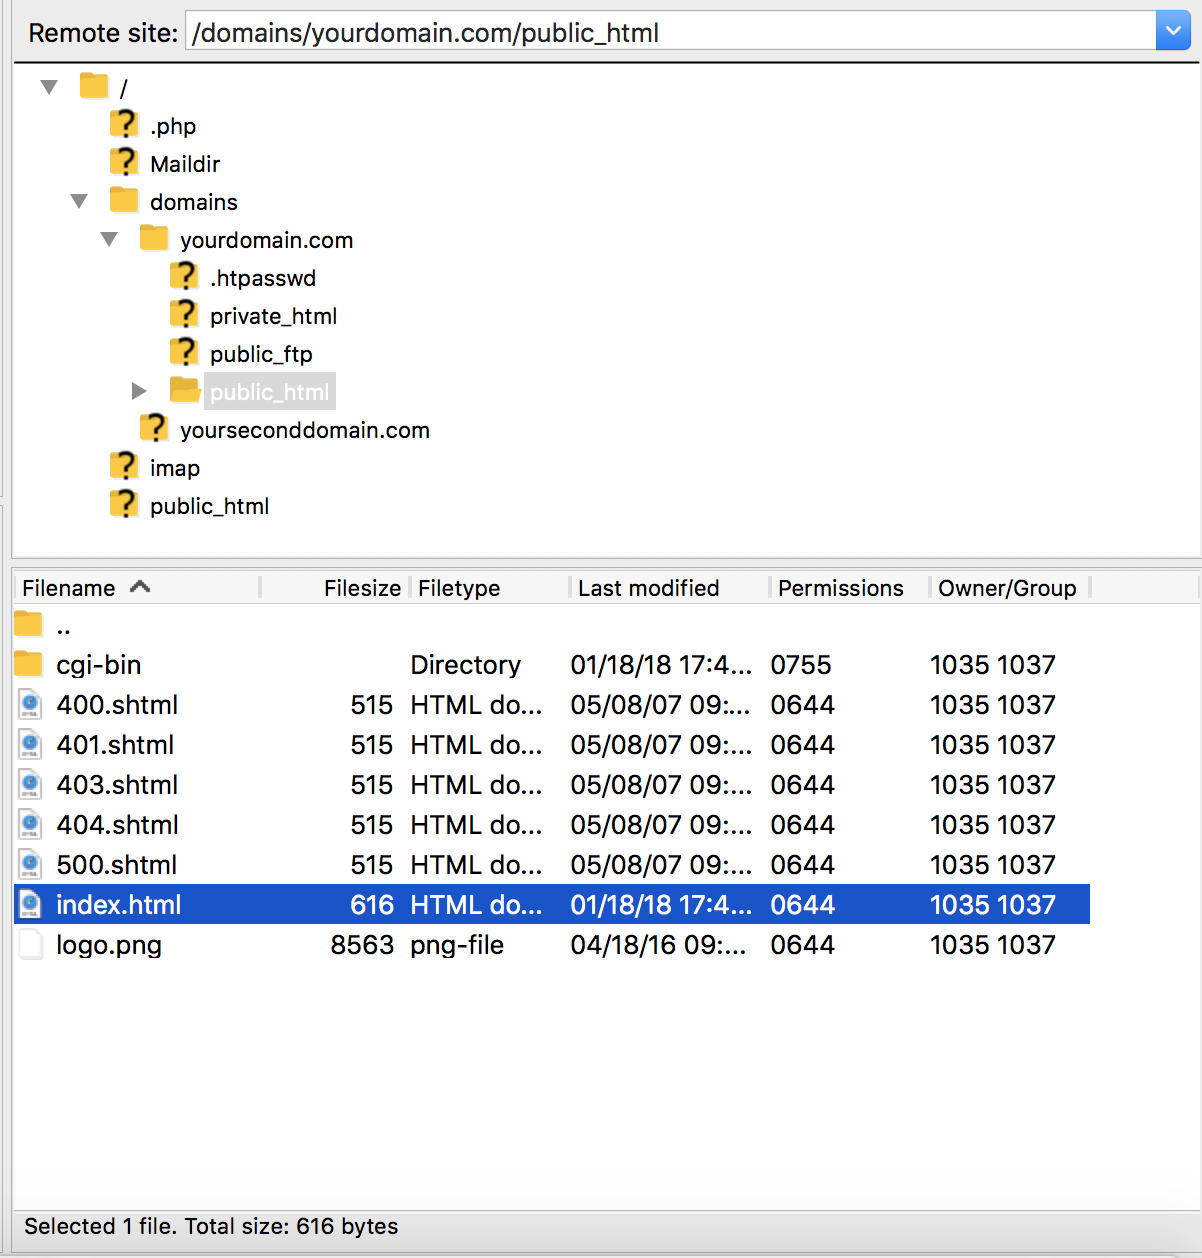
If you use FileZilla, information should look like this:

All FTP clients need the following information:
- Username (This is your control panel username.)
- Password (This is your control panel password.)
- Address (This is the address of the server.
Use ftp.yourdomain.com) - Port (Use the default port 21)
Step 3: Open the public_html directory and upload your files.
Once connected, you can see your folders on right side. You can press on desired folder, to see its contents. If you have more than one domain hosted on your account you should first enter the /domains directory, then the domain you want to edit, then the public_html directory.
To upload, highlight the files/folders on your computer and drag them into the appropriate directory on the remote server. Each FTP client operates differently, so please consult its help file for complete instructions.

#Uploading With DirectAdmin's File Manager
Uploading with DirectAdmin File Manager is easy way to transfer files between your computer and server without any additional programs required.
- 1. Sign into the control panel and click the "System Info&Files" icon.
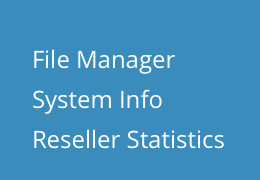
- 2. Select "File Manager" menu.
- 3. Navigate to the directory where you want to upload files.
- 4. Click the "Upload File" button at the bottom of the screen.


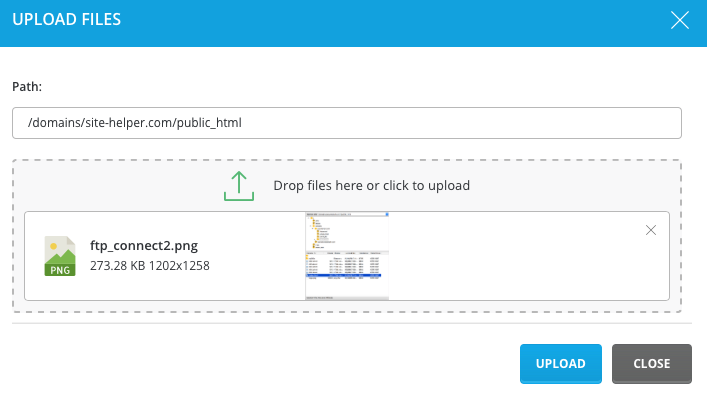
- 5. After that, just Drag & Drop desired items from your computer to DirectAdmin, and press "Upload".
- 6. Note: Make sure the destination path above is correct. (path / start at your home directory).

Uploading files with DirectAdmin's File Manager is really simple and usefull. You can also change file's permissions or even edit files from direct admin control panel.

